Wednesday, July 20, 2011

My Pink Stamper Design Team Challenge


I’ve been missing in action lately but I’m back now. This post is for “My Pink Stamper Design Team” Challenge. It was the perfect challenge because I needed to make a baby shower present and the challenge colors are the colors being used in the nursery. I’m posting this a day before the shower, so SHHHH…

Here is the challenge:
Make a card, scrapbook page, or other Cricut project with your favorite Cricut cartridge using the following colors......

Orange
Turquoise
Green
Brown
(other optional color of your choice)

With this in mind I crocheted a baby blanket in turquoise. When I give a blanket away I put it in a box that matches for safe keeping when it is not being used. I purchased a box from Michael’s that has a magnetic closure on it.

I painted the edges of the box with turquoise paint. Then with spray adhesive I applied 12x12 scrapbook paper all around the box. After all was completely dry, I used brown ink to ink the edges to give the box an antique look. Then for finishing touches I added some ribbon and a bow.


I added large turquoise beads found in the beading section at Michaels for feet.


Using Rock Princess cricut cartridge I cut out the shadow of the crown on row 2 and embellished it with clear stones. I did not attach it to the top of the box because it will be the tag for the gift. After presenting the gift, the crown will then be adhered to the top of the box for additional embellishment.

Here is a picture of the blanket:


Thank you for stopping by to visit my blog today!

Wednesday, November 17, 2010

Picture Frame


Hello to all the Sassy Lady followers and Happy Thanksgiving! Today I'm getting another opportunity to play at the Sassy Lady's blog. First of all I would like to apologize for not having a cricut related posted for today but I had to have an unexpected minor surgery a couple of weeks ago. I am recovering really well, but I haven't had the energy to really do a lot of designing or crafting lately.


I purchased this frame at Hobby Lobby a few months back without any real plans for it. First I painted it off white. I added some decorative paper to the front and then distressed it with Tim Holtz distressing ink.


To finish it off I added a little bling and some prima flowers and it turned out really cute.

I hope you try this very simple and easy to make project and share your ideas with me. Thanks for stopping by!

Thursday, October 21, 2010

Halloween Door Hanging


Isn't this just adorable? I needed something to decorate my front door with for Halloween so I thought I would make a wall hanging. I cut these images using Happy Hunting's cartridge.


The hat was cut at 7 inches.


The witches brew pot was cut on fit to page.


The shoe was also cut on fit to page.

I punched holes in each of the images using the crop-a-dile and connected the three pieces together with orange and brown ribbon. Of course I had to add some bling to each piece. I just can't help myself when it comes to adding the bling. The more it sparkles and shines, the better I like it.

Thanks for stopping by and visiting today. Please leave me a comment and let me know how you will take this idea and make it your own.

Wednesday, October 20, 2010

Imagine/I-Rock Baby Onsies


Hi, it's my day to play on The Sassy Lady blog. Sheila is so sweet to allow me to post on her blog. You will definately want to hop over there and see all the wonderful creations that Sheila and all her talented designer post each day.

I ordered the imagine back in September when HSN had it as the special value of the day. When it came in I was sick and wasn't able to play with it for about three weeks. After opening it up and starting to learn more about it, I fell in love. I wanted to try something different so I started looking around the house and found two baby onsies that needed some attention.


So I thought I would try transferring an image printed by the imagine onto the onsies.


I started by doing a test print onto card stock to make sure I got the sizing correct. The final size I decided on was 2.5 inches.


On the imagine I flipped the image before printing. I printed and cut the images using the Nursery Tails cartridge onto Avery Light Fabric transfer paper purchased at Wal-Mart.


Iron the images onto the onsies with the iron set on cotton setting using dry heat. Allow the image to cool for two minutes and peel off the paper backing.


I wanted some bling so I bought the i-rock heat setting tool. I have to say that the instructions were not quite clear enough for me because I left the heat tool on the stone to long and actually burnt the first one I attempted. After making that mistake I realized that all you really need to do is touch the heat tool to the stone for just a second and remove it. That technique worked much better and I was able to finish applying my bling without any more burns.


This is actually the one that I burnt but you can still see how adorable it turned out.


My second attempt at adding bling worked perfectly.

I had so much fun using my imagine and the i-rock heat tool that I can now think of a thousand things to add bling too. Don't forget to leave me a comment and tell me how you will use this idea and make it your own. Thanks for stopping by today!

Monday, October 18, 2010

Halloween Wreath


It's that time again to start decorating for the upcoming holidays. Halloween is a fun holiday to decorate for. You know I love to make a feather boah wreath so I started with two purple boah's. Start by wrapping them around a round styrofoam wreath.


Using Happy Haunting's cartridge, cut out several images of your choice. I like to cut several layers and the back piece from chip board so that the images are not flimsy.


I also like to hot glue small clothes pins to the back of the images. It makes it easy to remove the images and replace them with more images for a different holiday or celebration.


Add a bow anywhere on the wreath attaching with floral wire so that it is easily removed when you switch out your images for the next affair.


Stop back by tomorrow and see my post for The Sassy Lady blog and on Thursday to get the details on the wall-hanging to the left of the wreath.

Thanks for stopping by today and leaving me a comment on how you will take this idea and make it your own.

Sunday, October 17, 2010

Critter Swap


I am participating in a critter swap. The Lion is cut at 3 inches using Animal Kingdom cartridge. The mane was run through the xyron and then glittered with Martha Stewart glitter. I will be submitting 15 lions and will receive equal amounts of different critters back in return. I can't wait to see what everybody comes up with. I'll try and post them when I get them back.


Thanks for visiting and check back later this week for my Sassy Lady post and some Halloween fun!

Wednesday, September 15, 2010

Monkeying Around


First off, let me say Thank You Sheila for letting me come back and play on the Sassy Lady blog. It's always an honor to be able to share my projects with such a wonderful group of people.

For my project today I decided to make a goody bag. I found the cutest paper by The Paper Studio at Hobby Lobby with monkeys on it. So lets get started.


Start by cutting the following size chipboard pieces. 2-4.5 x 5, 3-4.5 x 2.


Then I cut brown cardstock in the following dimensions: 5-9.5 x 4.75. I scored it at 2.5 and 6.5.


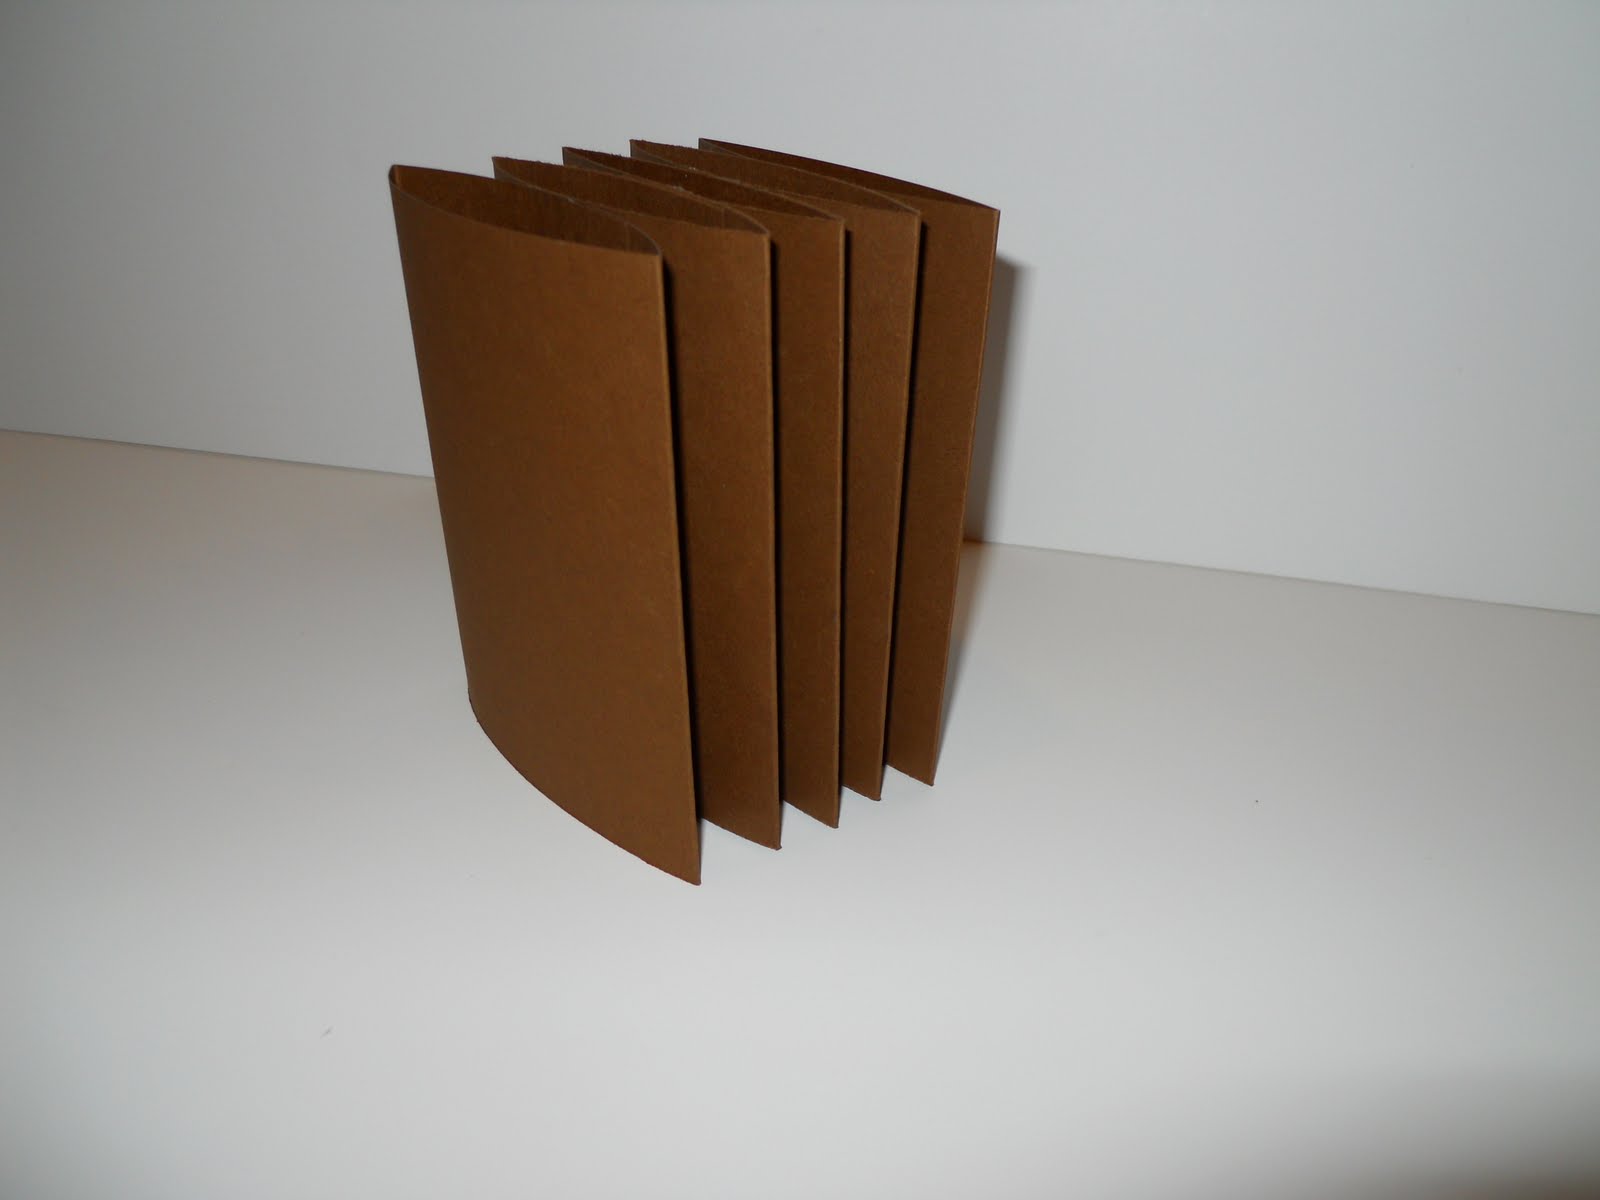
Fold the cardstock pieces and secure together with double sided tape or hot glue.


Then using double sided tape or hot glue secure the 5 pouches together so that it ends up looking like this.


I laid out my chipboard to measure the length for the cover. Make it at least 1.5 inches longer and wider than your chipboard. I wanted some contrast so I used the monkey paper and cardstock at the top so that the flap would contrast with the bag.


With the cover upside down lay out the chipboard with a small space between each piece for folding. Using double sided tape on the edge of the chipboard wrap the cover around all sides of the chipboard. Then measure the inside of the bag and cut a piece of decorative paper and secure to the inside.


Using double sided tape or hot glue secure the pouches to the inside of the bag.


I added a magnetic clasp to the cover, ribbon and a monkey charm. I then distressed the entire bag with Tim Holtz distressing ink.


I stamped the very top of the bag with "Sending You a Great Big Hug" stamp.


Using the Tags, Bags, Boxes and More cartridge, I cut a tag, added the same ribbon as I used on the bag and another monkey charm. Then stamp a sentiment of your choice onto the front.


I'll be filling the bag with some type of goodies and hopefully it will make somebody smile when they get it.

Thank you again Sheila aka She's A Sassy Lady for allowing me to come play today.