Showing posts with label Gift Box. Show all posts

Wednesday, September 15, 2010

Monkeying Around


First off, let me say Thank You Sheila for letting me come back and play on the Sassy Lady blog. It's always an honor to be able to share my projects with such a wonderful group of people.

For my project today I decided to make a goody bag. I found the cutest paper by The Paper Studio at Hobby Lobby with monkeys on it. So lets get started.


Start by cutting the following size chipboard pieces. 2-4.5 x 5, 3-4.5 x 2.


Then I cut brown cardstock in the following dimensions: 5-9.5 x 4.75. I scored it at 2.5 and 6.5.


Fold the cardstock pieces and secure together with double sided tape or hot glue.


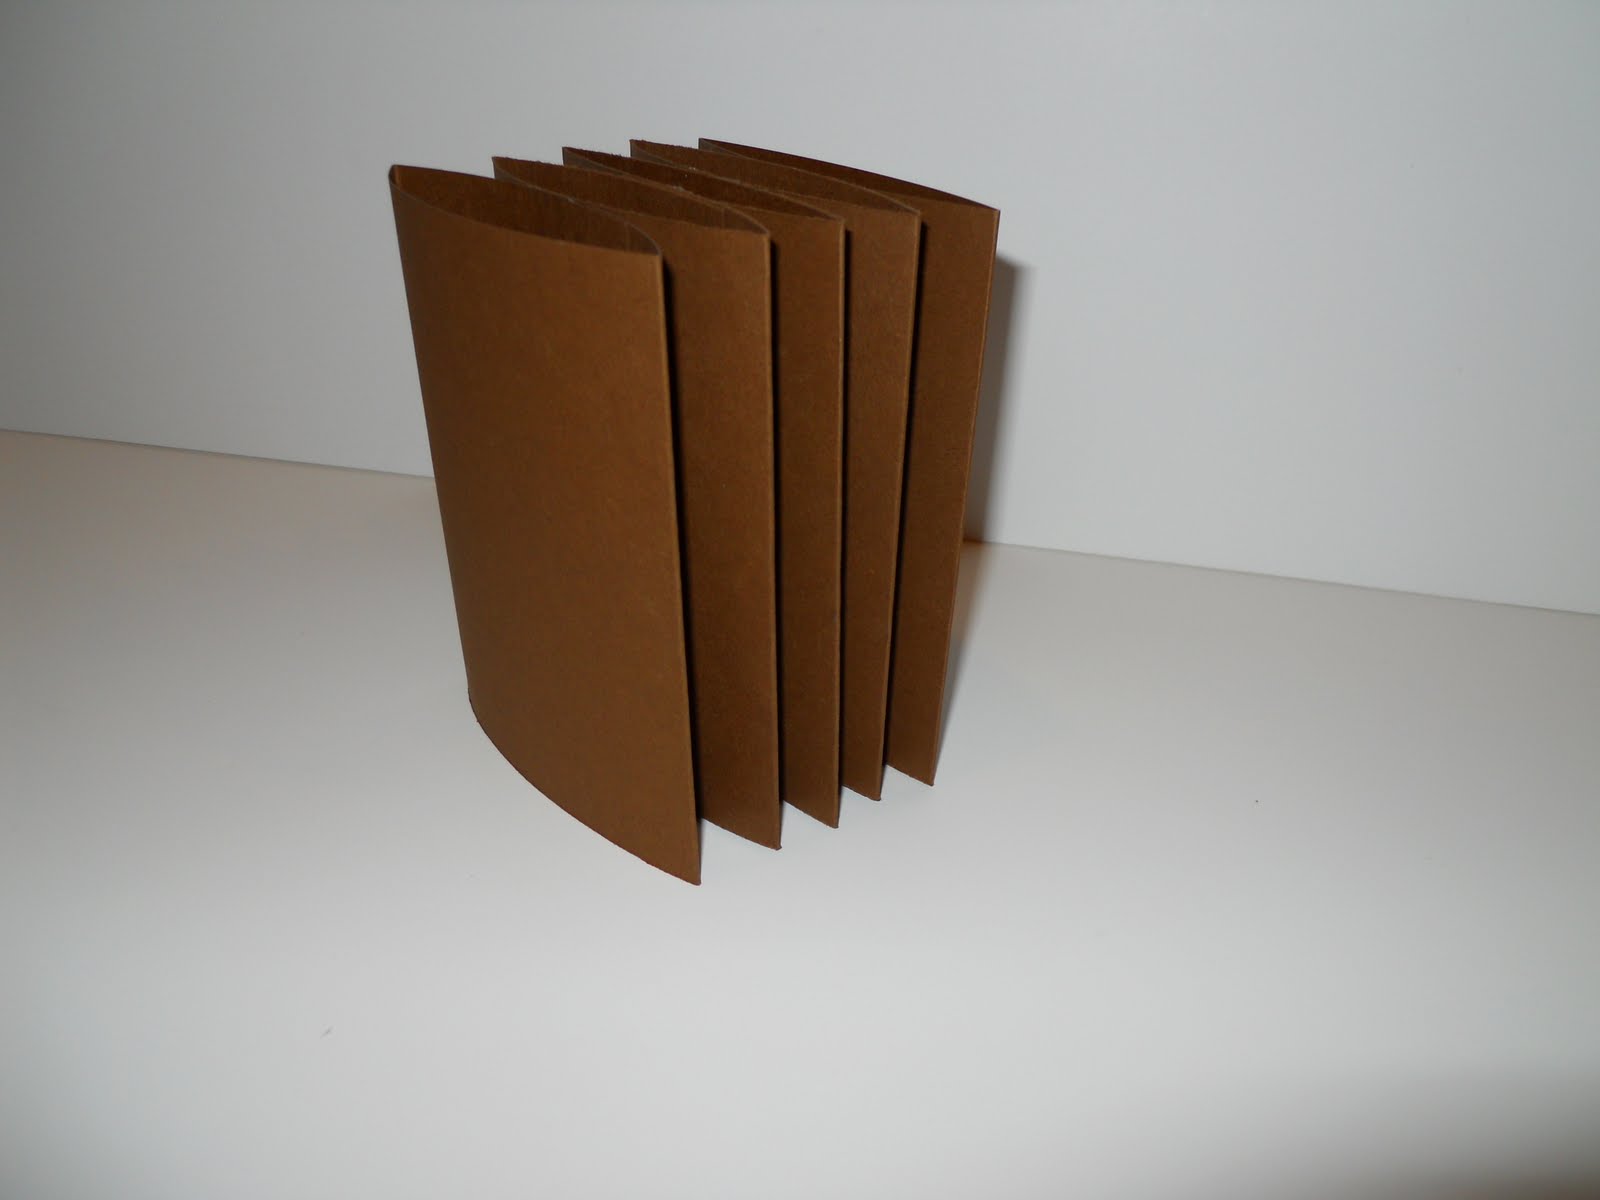
Then using double sided tape or hot glue secure the 5 pouches together so that it ends up looking like this.


I laid out my chipboard to measure the length for the cover. Make it at least 1.5 inches longer and wider than your chipboard. I wanted some contrast so I used the monkey paper and cardstock at the top so that the flap would contrast with the bag.


With the cover upside down lay out the chipboard with a small space between each piece for folding. Using double sided tape on the edge of the chipboard wrap the cover around all sides of the chipboard. Then measure the inside of the bag and cut a piece of decorative paper and secure to the inside.


Using double sided tape or hot glue secure the pouches to the inside of the bag.


I added a magnetic clasp to the cover, ribbon and a monkey charm. I then distressed the entire bag with Tim Holtz distressing ink.


I stamped the very top of the bag with "Sending You a Great Big Hug" stamp.


Using the Tags, Bags, Boxes and More cartridge, I cut a tag, added the same ribbon as I used on the bag and another monkey charm. Then stamp a sentiment of your choice onto the front.


I'll be filling the bag with some type of goodies and hopefully it will make somebody smile when they get it.

Thank you again Sheila aka She's A Sassy Lady for allowing me to come play today.

Wednesday, July 21, 2010

Gift Box


Hi all, I hope you are all having a great summer, it's been a busy one for me. So let's get started, first I want to thank Sheila, aka Sassy Lady, for giving me the opportunity to share with you something that has a very special meaning to me. Today I would like to share with you a box that I made for my niece's wedding and a small gift to go inside.

I started with a paper mache' box purchased from Hobby Lobby. I added little wood feet called Candle Cup that I also purchased from the wood section at Hobby Lobby.

Using the French Manor cartridge and Cricut Cuttables, Adhesive-backed Stencil Material, I cut out a stencil for the top of the box. The size was 2.5 inches and I set the pressure on high, blade at 5 and multi-cut at 4.

I cut another stencil for the front and two sides of the box using the border function. The size is 1 inch, multi-cut at 3, blade at 5, pressure at max and speed at slow.

I laid the stencil on the box and then added Spackling Paste. The paste is very rough so you will need to smooth the paste as much as you can with a trowel. The top of the box had a few sections where the paper had separated so I added paste around the edge to seal up the seams.

Remove the stencil and allow the paste to dry. After the paste dries, lightly sand so that your image is completely smooth.

I then painted the box using Anita's Acrylic paint in Cream. After the box dried I added delta paints in Village Green and Think Pink. When applying the pink and green paint, I used water to thin the paint.

Using a sponge paint brush I applied Martha Stewart Copper ink to give the box an antiqued look.

I lined the box with decorative paper.

I then added the embellishments to GLAM it up. This is always my favorite part of a project. Now for a peek at the gift.

The gift was a garter that I made for my niece's wedding. I smocked it with hearts and added a pearl at the bottom of each heart. The pearls that I used came from the brides great grandmothers jewelery. This was just a small way to have our grandmother with us at this special event.

I hope I have inspired you to do something creative that has a special meaning for you or someone in your family. I would love to hear how you will incorporate this idea into your crafting style so please leave me a comment.